Note: To avoid liability for errors on your documents, ITS cannot adjust these for you. You are free to walk through these steps or come to the Service Desk for assistance doing so.
Dimensions we print at are as follows:
Tabloid/ledger (11 x 17), Letter (8.5 x 11), and for long format prints, anything less than or equal to exactly 36 inches on one side (the width) is fine. Photos smaller than these sizes must be on blank paper of roughly the sizes listed above, unless printed on poster paper.
Adjusting the Size of a Print Document:
In Adobe Acrobat:
Note: This must be done in the program itself and not the web app. If possible, edit the original document instead of the exported PDF file to preserve quality.
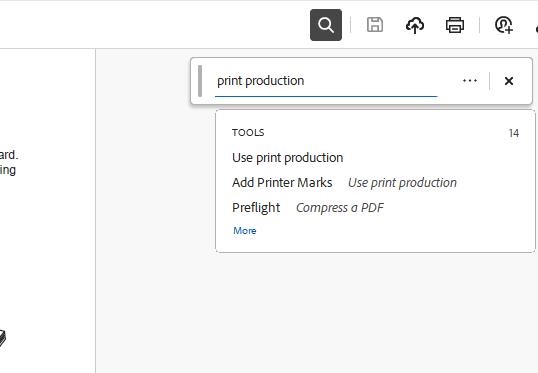
1. With the file open in Adobe Acrobat, use the search option to search "Print Production," and find Preflight. Select it.
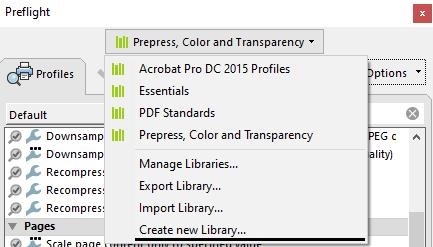
2. With Preflight open, make sure to set the top dropdown to "Prepress, Color and Transparency," and select the wrench icon.
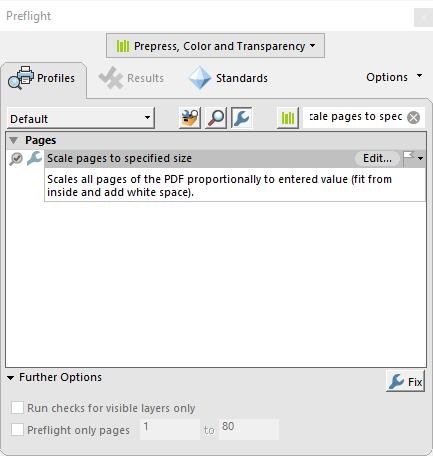
3. Under the Pages dropdown, select Scale pages to specified size.
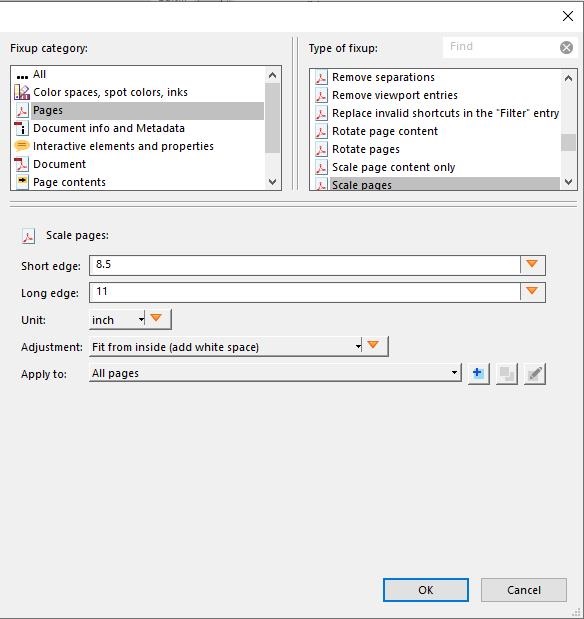
4. In the following page, set the length and width, then select OK.
5. Finally, hit the wrench button in the bottom right to apply the changes.
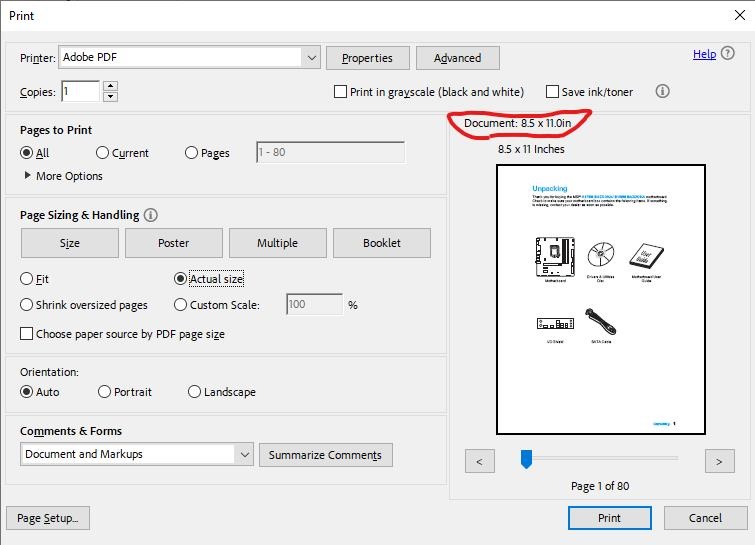
6. With that, you can save this file as a separate PDF. To test if this worked, you can try to print the file and select "Actual size."
In PowerPoint:
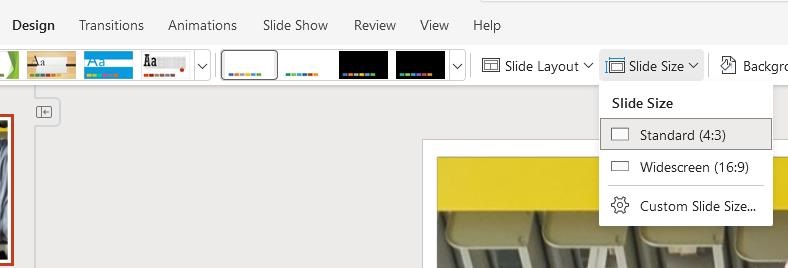
1. Go to Design, Slide Size, and then Custom Slide Size.
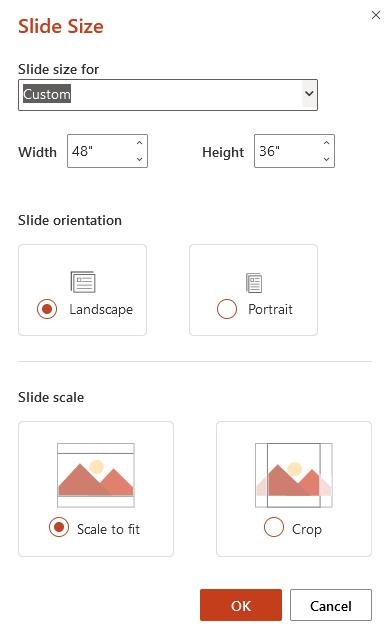
2. Set the size to whatever you wish.
In Word:
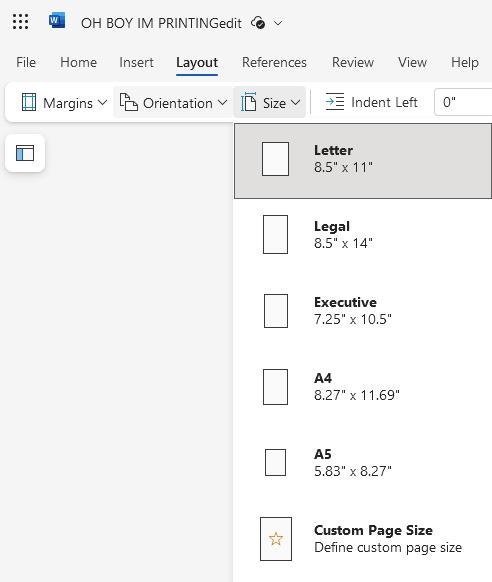
1. With the word file open, go to Layout, then Size, and select the appropriate paper size.
In Excel:
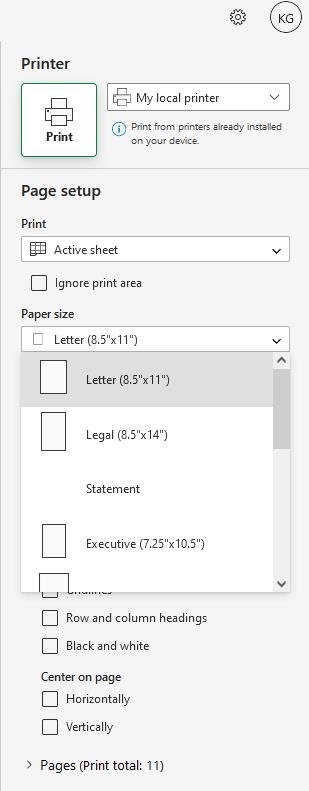
1. With the excel file open, go to Page Layout, then select Page Setup.

2. Select the appropriate paper size before exporting the file.
In Photoshop:
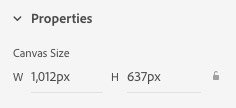
1. In the Properties panel, you can input canvas size width and height at specific values.
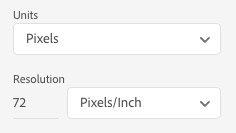
2. Use the Units property to change the canvas size units between pixels, inches, or centimeters. Use the Resolution setting to set a print resolution in pixels/inch or pixels/centimeter.
Referenced from: helpx.adobe.com/support