Dashboard
1. On your WordPress Dashboard on the left-hand side of your screen choose "Media".
2. It will display a drop-down menu with 2 options "Library" and "Add New".

3. If you have already uploaded media or when you do in the future, if you choose "Library" a list of all media files in order of MOST RECENTLY UPLOADED to OLDEST LOADED is displayed.
a. You will see a search bar at the top right of the page that allows you to search media by title or keyword instead of clicking through every page.
b. Above your list of files the media library also tells you the total number of files (all), the kind of file (images), and whether the file is attached/unattached.
c. The checkboxes to the left of each file allow you to delete the file or select multiple files to delete (this can also be done by selecting the box and applying the "bulk actions".
d. To edit or view the file and its URL path or any other data that you added as descriptors, hover over the file title and you will see a horizontal list of three options "edit", "delete permanently", or "view".
To Add New Media
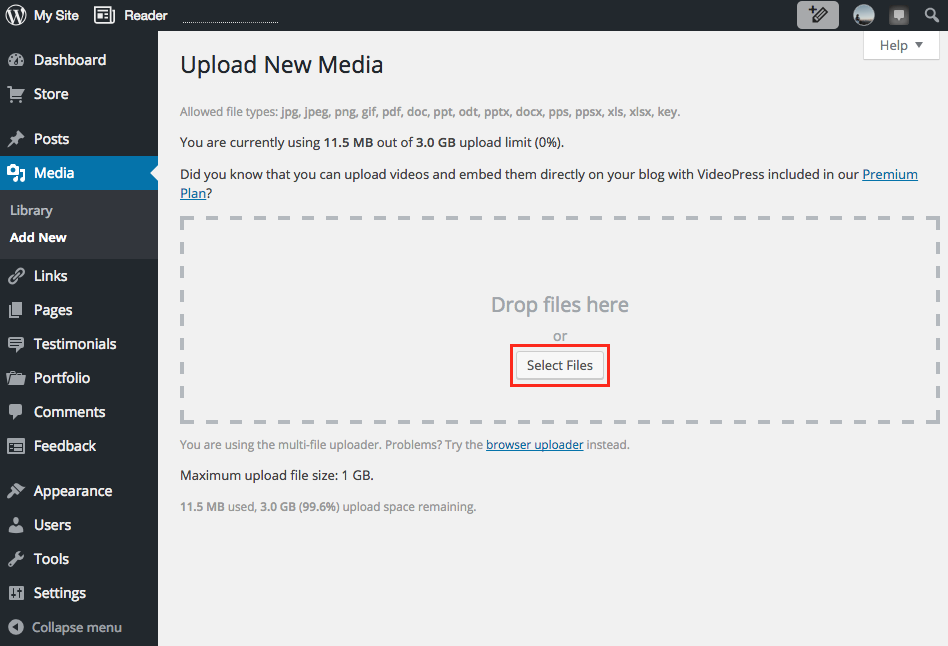
1. Click the "Add New" button on the left-hand panel.
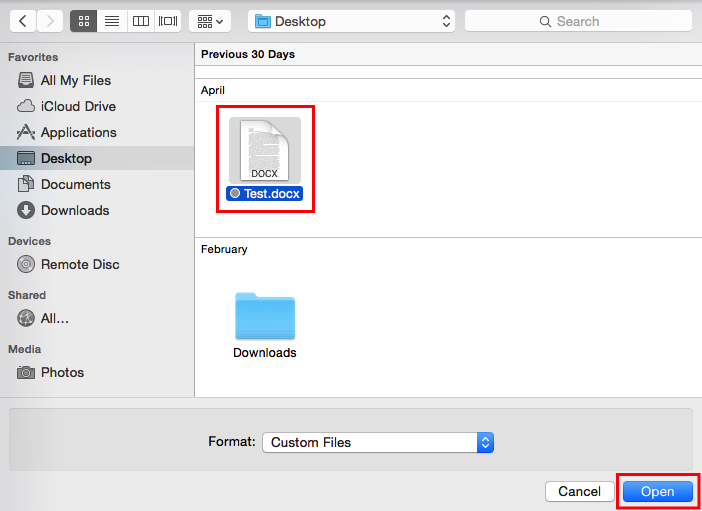
2. On the middle of the screen, press the Select Files button and choose the file or files you want to upload.
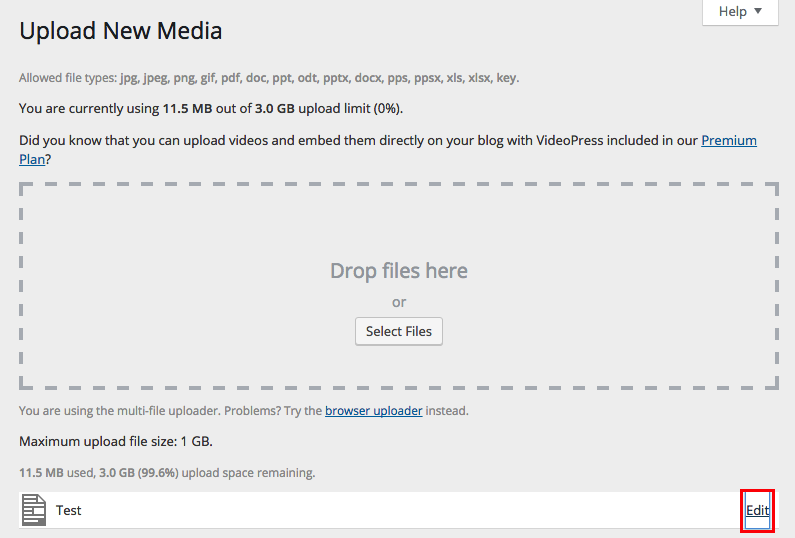
3. Once you have selected the file, this is the window that will appear. To edit your media file, click the Edit button on the bottom right-hand side of the window.
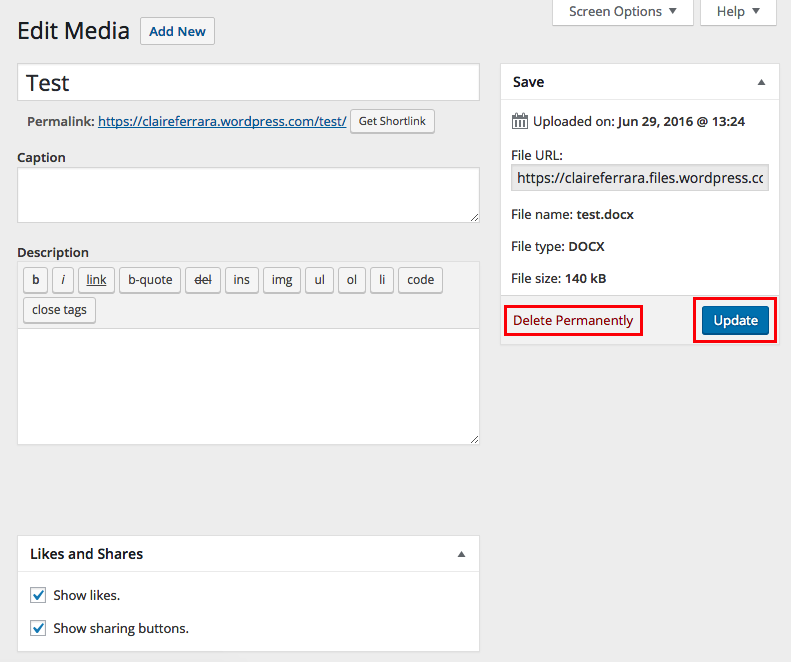
4. Here you have the option to edit the title, shortlink, caption, description, and like and share options. When you're finished, there is a Delete Permanently button to get rid of the media, and an Update button to update the media settings.
Referenced from: Wordpress.org