FilesToGeaux: LSU Overview
Due to the retirement of legacy systems, the FilesToGeaux service is scheduled to be decommissioned on December 16th, 2025. All LSU A&M faculty, staff, and students are encouraged to use Box.com or OneDrive to share and collaborate on content.
Generating Links for Sharing Content
It is recommended that you refrain from creating links to share content. Content should be shared directly with specific accounts instead of creating a shareable link that is accessible to anyone. Links to content should only be created when collaborating on content with people who do not have a Box.com or Microsoft account.
Content shared from Box.com or OneDrive will not expire. During the link creation process, you can place an expiration on the link, but that will not delete the content. You will need to go back and remove (delete) the content from Box.com or OneDrive.
Important: LSU A&M students do not have access to Box.com. Only LSU A&M faculty, staff, graduate assistants, and student workers have access to Box.com.
Jump To:
Using Box.com to get content from anyone via a File Request
Important: Information Technology Services (ITS) does not recommend collaborating on content via publicly available links. The best practice is to collaborate on content contained in Box.com with other Box.com users.
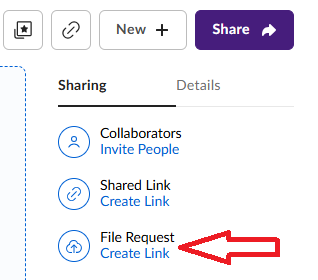
- Go to the Folder First: find and click on the Box folder where you want the external collaborator’s files to be saved.
- Start the Request: Look at the right side of your screen. You should see a link labeled File Request. Click the Create Link button. (If you don't see it, click the three dots (...) next to your folder name, and then choose File Request.)
- Click Edit: A new window will pop up to design the page. Click the Edit button in this new window.

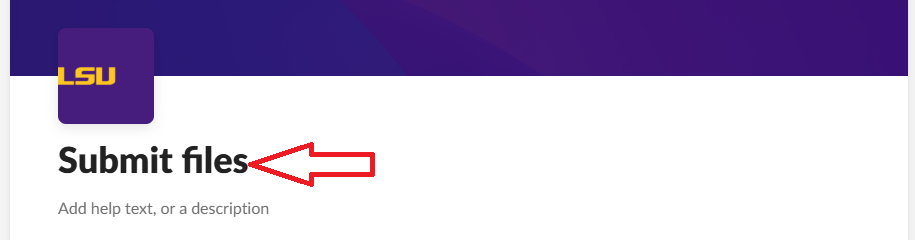
- Change the Main Title: At the very top of the pop-up form, click on the current title (it probably says "Submit Files"). Delete the old title and type in your new, clear title. (Example: "Please Upload Your Documents Here" or "Send Your Company Photos.")
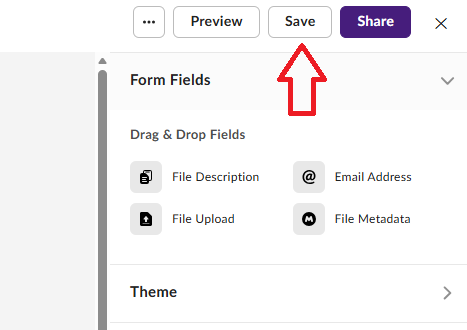
- No other fields or modifications are needed; click the Save button at the top of the window to finish.
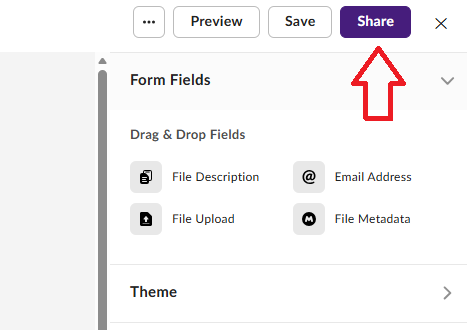
- Copy the Link: Click the Share button.
- You will now see the main File Request window again. Click the Copy button to copy the unique link that Box created for you to your clipboard.
- Share It! You can now paste this link into an email, text message, or chat to share it with anyone who needs to upload files to your Box folder.
People who use this link do not need a Box account to send you files. If you have any additional questions or need more assistance, reference the following Box.com Support articles:
[Return to Top]
Using Box.com to generate a secure link (URL) to a file
Important: Information Technology Services (ITS) does not recommend collaborating on content via publicly available links. The best practice is to collaborate on content contained in Box.com with other Box.com users.
- In your Box files view, hover your cursor over the file you want to share. This should make four icons appear on the right-hand side of the file. The arrow icon, located second from the right, will display the Share options.
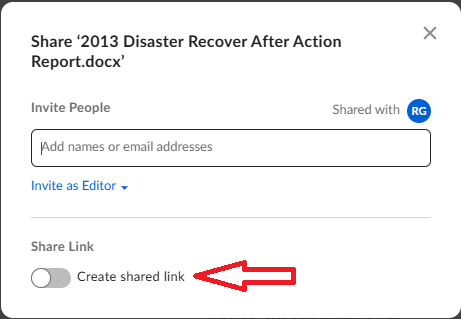
- Click the Share button (or icon) that appears. The Share window will open.
- If a link hasn't been created yet, you may need to click to Create Shared Link first. The link is automatically copied to your clipboard.
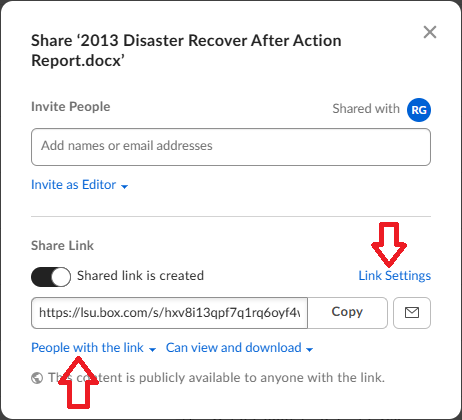
- In the Share window, change the sharing from People in your company to People with the link.
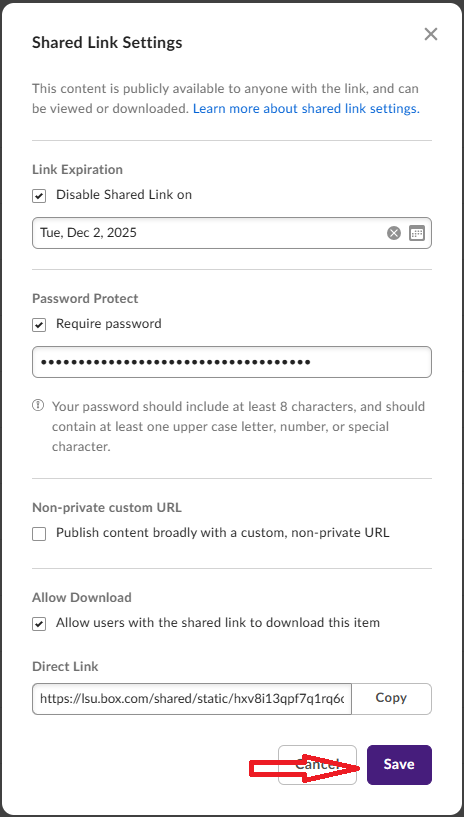
- Click Link Settings. This opens the Shared Link Settings window, where you can customize security and access.
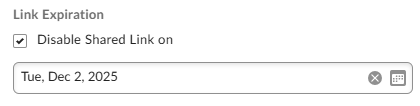
- Set Link Expiration Date: In the Shared Link Settings window, look for the Link Expiration section.

- Check the box next to Disable Shared Link on (or similar wording).
- Click the calendar icon that appears and select the specific date you want the link to automatically become inactive.
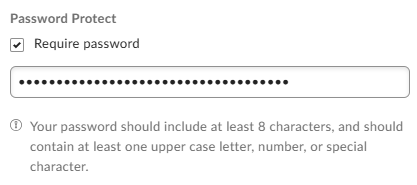
- To require a password (optional), check the box next to Require Password.
- If the Password Protect portion is not there, Cancel back to the main Share window and modify the link settings from People in your company to People with the link.
- In the provided field, Enter a password that meets the Box requirements (typically at least 8 characters, including an uppercase letter, a number, and a special character)

- Click Save at the bottom of the Shared Link Settings window to apply the password and expiration date.
-
The link is now available. You can copy the generated URL and share it. Remember to share the password with the recipient separately using a secure communication method (e.g., calling the user on the phone or sending a secure message).
You can learn more about configuring link settings in the Box Training for Beginners: Using shared links video. If you have any additional questions or need more assistance, reference the Creating Shared Links Box.com Support article.
[Return to Top]
Using OneDrive to generate a secure link (URL) to a file
Important: Information Technology Services (ITS) does not recommend collaborating on content via publicly available links. The best practice is to collaborate on content contained in Microsoft 365 with other Microsoft 365 users.
- Go to OneDrive, onedrive.lsu.edu, and sign in with your MyLSU credentials.
- Navigate to the file you want to share.
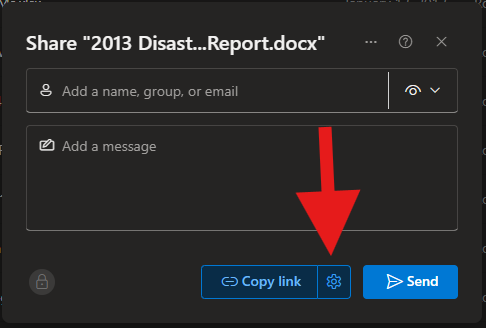
- Right-click the file or click the Share icon.
- Click the gear button next to "Copy Link".
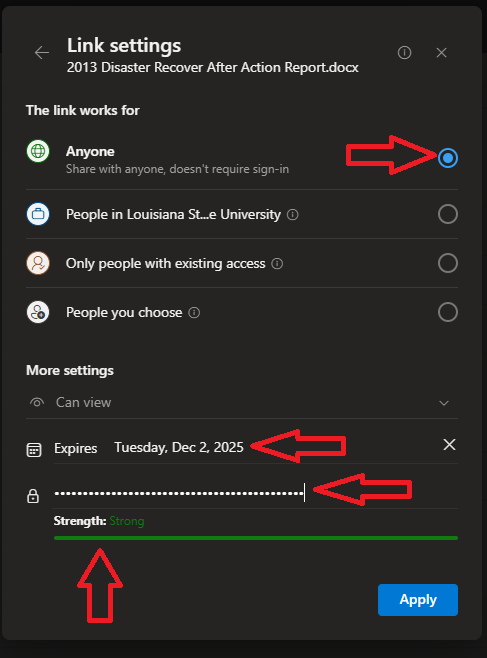
- In the Link settings window:
- Choose “Anyone with the link” to allow access without requiring a Microsoft account.
- Set permissions to View.
- Toggle “Allow downloading” if you want the recipient to be able to download the file.
- Set an expiration date for the link.
- Enter a secure password. You’ll need to share this password separately with the recipient (e.g., calling the user on the phone or sending a secure message).
- Click Apply.
- Back in the Share window, click Copy link. The link will be automatically copied to your clipboard.
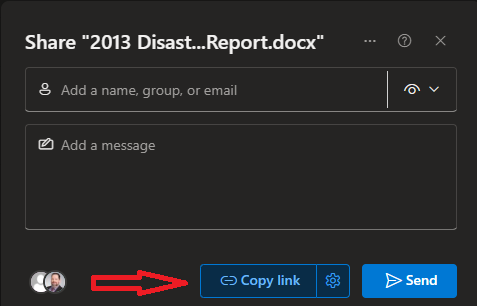
- Paste the link into your email and send it to the recipient. If you set a password, include instructions on how to access it securely.
[Return to Top]
165
2/20/2026 4:31:59 PM